Lately, I’ve been seeing a lot of cotton, woven baskets, and I’ve been loving the look. The texture, the cotton, the neutral color…all make me so happy. I started wondering if there was a way to incorporate the same look and feel into a table setting. And, that’s how I came up with these woven DIY charger plates! 😜
In all transparency, we don’t have many sets of charger plates in our home. I have one set of natural, wooden ones that I bought for a previous blog post and then kind of fell in love with.
They made the table feel classy and simple and special, without going overboard.
With this in mind, I loved the idea of creating a tutorial for DIY charger plates along the same theme. Something neutral, that would go with a lot of things, but add a cool texture to the table.
Plus, they are pretty easy to make, once you get the hang of it.


YOU’LL NEED:
- Cotton clothesline rope (200 ft makes 3-4 charger plates)
- Thread (1, or 2 colors if you would like)
- Optional: Leather scraps or twill tape ribbon. (This is for the tag at the end of the charger plate. I actually bought these luggage tags at Michaels and cut them up.)
DIRECTIONS:
01. Roll the end of the cotton rope and insert pin to hold.

02. Using a zigzag stich, stitch across (about 8-10 stitches), and then backstitch (about 8-10 stitches). Repeat to secure coil.
I did this part using the hand wheel instead of the foot petal to achieve a cleaner look. My stitch width was at 5, and stitch length was 1.5. I also started with a darker thread for the center of the charger plate to create a slightly contrasting look.
03. Reposition and repeat step two to create an X shape.


04. Zigzag stitch around the base of the coil. Be sure that the stitch is catching both the center of the coil and the new clothesline.
Note: the beginning section is the most difficult because the circle is so small. I used the hand wheel during this part. The larger the coil gets, the easier it becomes.


05. Continue until you have achieved your desired size!
I changed thread from light brown to cream, once my charger plate got to about ten inches in diameter. I liked the slightly contrasting look, but it really is whatever you like. To change thread, just backstitch once or twice and then cut threads and start with a new thread color.
Same if you run out of bobbin thread, which did happen to me once 😉.
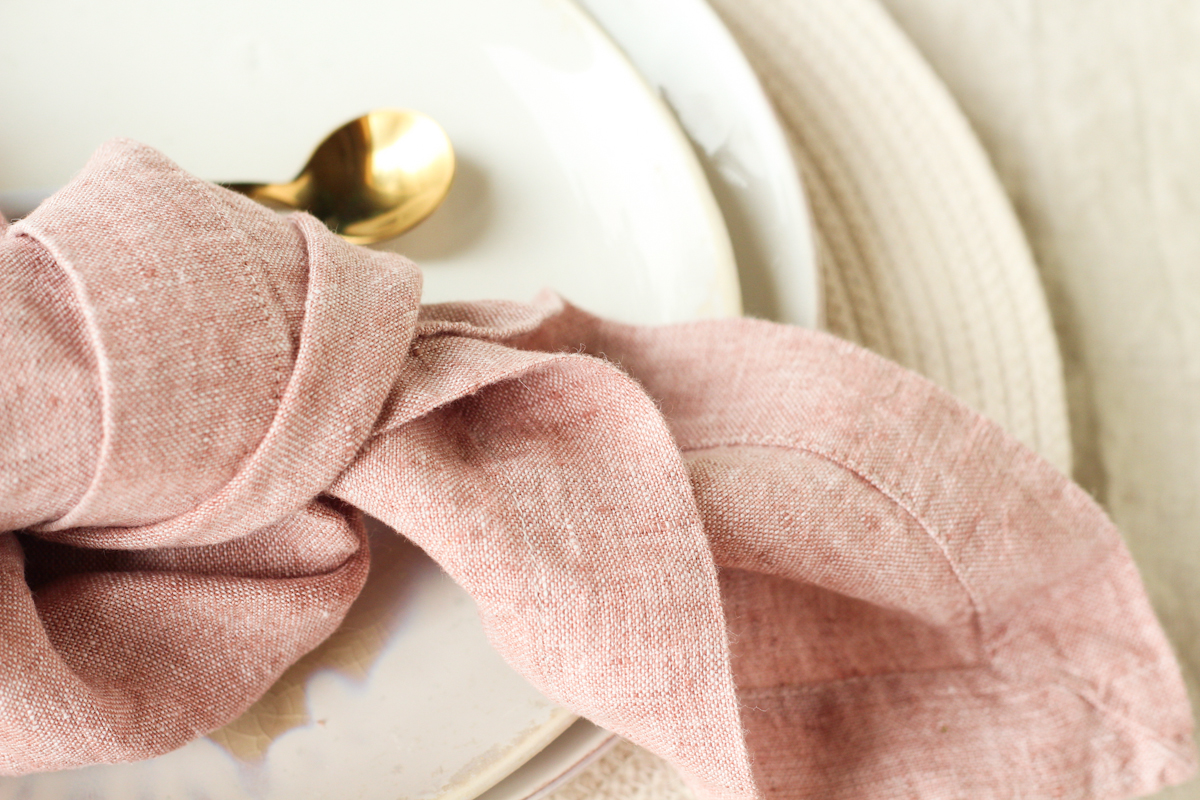
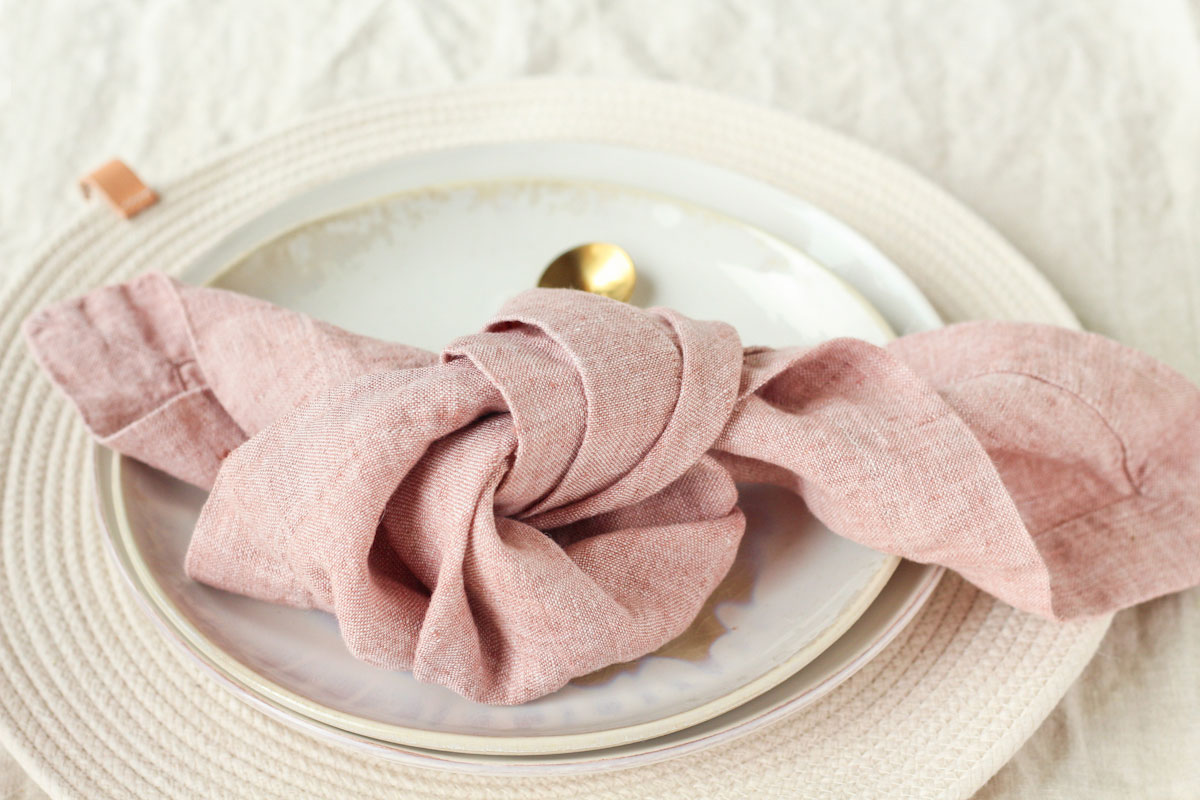
My finished charger plate was about 13 inches in diameter.
05. To finish, backstitch, cut threads, and cut end of rope.
06. Optional: if you would like to make a tag at the end, I cut small pieces of leather and pre-pierced holes with a seam ripper (believe it or not). Then, hand sew the leather piece onto the end 😊.
While it was not too difficult, I think twill tape would look gorgeous as well and would be pretty easy to add on without having to sew it by hand. Enjoy!


Enjoy these printables?
Check out the latest and best printables in my new Etsy shop! All designs are immediately available for download and most are under ten bucks!